
How to Replace a Lawn Sprinkler Head
One of the most important aspects of maintaining a healthy, green lawn is watering. Having a sprinkler system can be an incredibly effective (and efficient) way to manage the watering of your lawn. Although a sprinkler system works wonders for keeping your lawn and plants in great shape, it can fall prey to the elements like any other piece of outdoor equipment. Fluctuating temperatures, roots and pesky animals that burrow are just some of the ways that the outdoors can impact the functionality of your sprinkler system.
Read More Home Improvement Articles
A sprinkler head replacement is one of the most common repairs for a sprinkler system. Even though a sprinkler system can last upwards of 20 years, sprinkler heads need replacing far more often — sometimes as often as once every five years. Sprinkler heads that don’t pop up, don’t turn on properly, have low water pressure or have a low or non-existent spray likely need to be replaced. And the sooner, the better.
Knowing how to replace a broken lawn sprinkler head can save you the money and hassle of hiring a professional to do it for you. After all, the task is relatively simple and requires zero previous plumbing experience. Need to get your sprinkler system back in good working order? Follow these steps to fix those faulty sprinkler heads once and for all.
Determine the Correct Sprinkler Replacement
Replacement sprinkler heads can be bought at nearly any home improvement store, and while you won’t need to purchase the exact same sprinkler head brand as the broken one, you should pay attention to certain factors as you search for a new one.
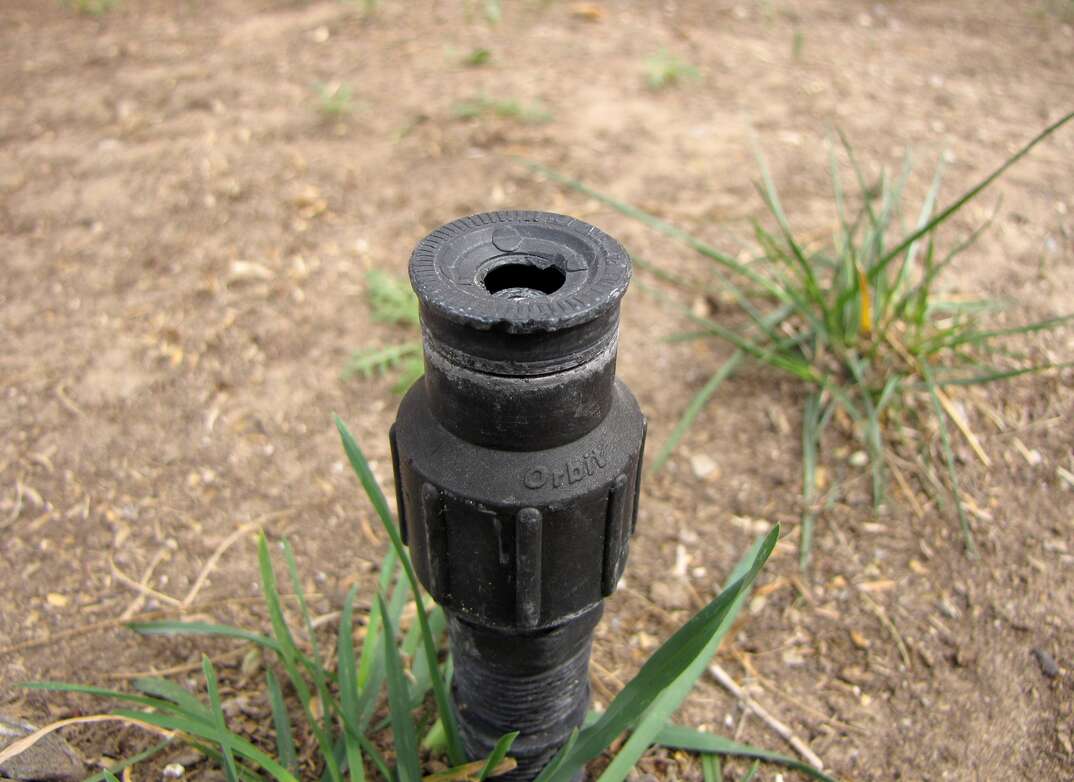
For example, determine whether or not the broken sprinkler head has an impact sprinkler head or a pop-up. If it’s a pop-up, it should be identified as gear-driven, rotor-driven or stationary.
Other factors to determine are the inches per hour (iph) or gallons per minute (gpm) water delivery rate, the spray pattern and the throwing distance. You should be able to find all of this information on the side of the sprinkler head once it’s removed. When in doubt, you can visit the manufacturer’s website for the specifications by searching for the brand and part number.
It’s important to match up these sprinkler head types. If not, you run the risk of over- or under-watering certain parts of the lawn. This could create larger problems down the line, like weed growth and even the need for sod replacement.


How to Replace a Lawn Sprinkler Head
Step 1: Dig Up the Broken Sprinkler Head
Start by turning off the water supply to your sprinkler system. It’s typically located between your main water supply valve and the sprinkler controller, but if you can’t find the sprinkler shutoff, you can always shut off the water at the main water supply to your home.
When the water is turned off, dig a roughly 2-inch hole around the sprinkler head so that it’s clear and accessible. You’ll need to dig deep enough to get to the small vertical pipe (called a “riser”) where the sprinkler heads sit. Try not to damage the horizontal PVC pipe the riser connects to. That’s the supply line. As you dig, create clean cuts in the sod by using a spade shovel or hand trowel so that you are removing patches of grass that can easily be replaced when your new sprinkler is installed.
Step 2: Remove the Old Sprinkler
Unscrew the broken sprinkler head from the riser by turning the head counterclockwise until it comes off the water line. You may notice thread-seal tape left on the riser. If so, remove it to the best of your ability. Take a moment to inspect the threads on the riser, here. If they look worn-out or cracked in some way, you’ll need to replace the riser. Luckily, it’s a pretty simple replacement process; just purchase a new one that’s the same length and diameter, apply thread-seal tape to both ends and screw it into the supply line.
More Related Articles:
- How Much Does a Home Inspection Cost?
- 4 Tips for Hiring a General Contractor for Your Next Remodeling Project
- Should You Hire a Contractor or a Handyman?
- 5 Things to Look For When You're Hiring an Electrician
- What to Look for When Hiring an Exterminator
Step 3: Install the Replacement Sprinkler Head
Wrap the threads on the replacement head with thread-seal tape before the installation. Screw in the new sprinkler head in a clockwise direction until it’s snug. Be careful not to screw it too tight, or you could damage the pipe threading. Take this moment to also verify that the nozzle is pointed in the proper location.
Step 4: Flush Out the New Sprinkler
At some point during the removal, some mud and gunk probably fell into the riser, so you may want to consider flushing the line, which can remove any dirt and other debris in the system. To do this, remove the cap at the very top of the sprinkler head and turn the water on. Water will spray out of the top, blowing out any dirt and debris left in the system. After, turn the water off and replace the cap.
Step 5: Test the New Sprinkler Head
When the new sprinkler head is installed, you’ll want to give it a performance test. Use this time to adjust the head’s spray pattern and throwing distance by following the manufacturer’s instructions. You’ll also want to check for leaks that might be coming from the connection between the riser and the water supply line. If there is a leak, you may have to tighten the head by hand or remove the head and apply more thread tape, depending on the severity of the leak.
If the new sprinkler head seems to be in good working order, replace the dirt and sod you removed earlier in the project in its original location.
Enjoy Your Revamped Sprinkler Head
Replacing a sprinkler head is deceptively simple. And by following the previous steps, your system will be back in good working order in no time at all.
Elocal Editorial Content is for educational and entertainment purposes only. Editorial Content should not be used as a substitute for advice from a licensed professional in your state reviewing your issue. Systems, equipment, issues and circumstances vary. Follow the manufacturer's safety precautions. The opinions, beliefs and viewpoints expressed by the eLocal Editorial Team and other third-party content providers do not necessarily reflect the opinions, beliefs and viewpoints of eLocal or its affiliate companies. Use of the Blog is subject to the
Website Terms and Conditions.The eLocal Editorial Team operates independently of eLocal USA's marketing and sales decisions.