
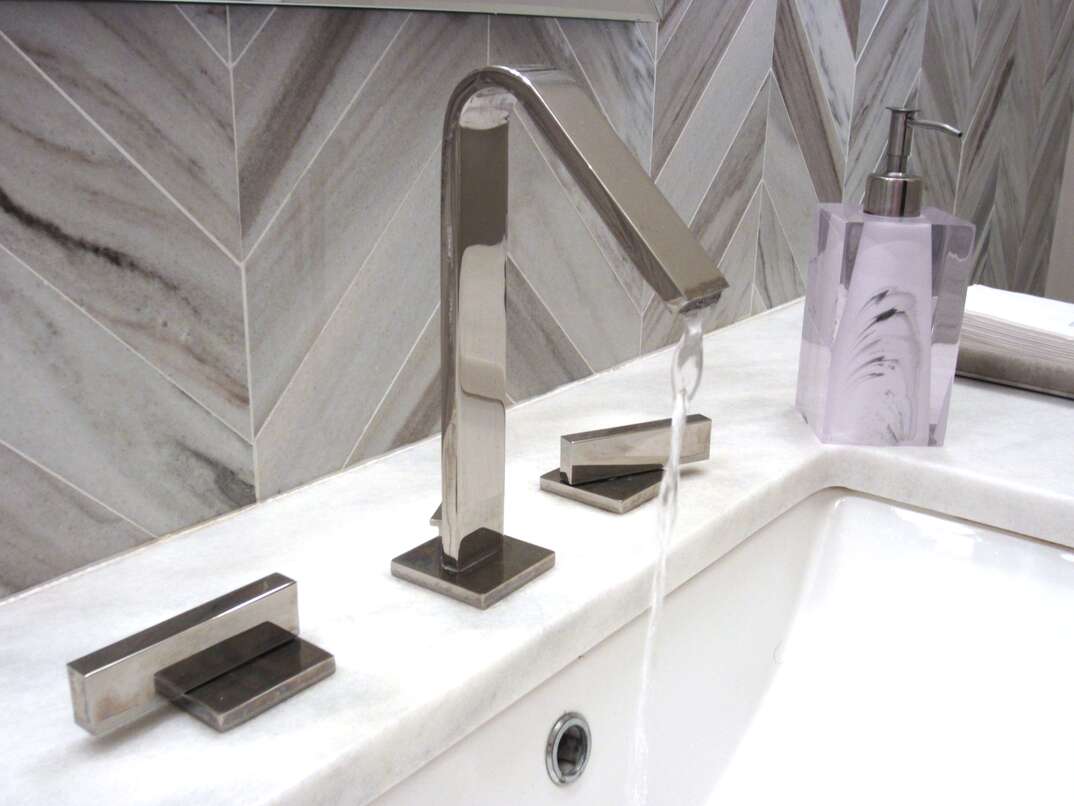
How to Fix a Leaky Moen Kitchen Faucet
If you’ve been there, you know: The constant drip … drip … dripping, followed by the worry of wasting water and the subsequent high water bill. Yep, a leaky faucet is most definitely a drag. And if you don’t have any plumbing experience, fixing the leak can seem overwhelming, to say the least.
However, if you have a Moen faucet, you’re in luck. Moen faucet repair is drastically simpler than many other faucet brands. This is in large part due to the fact that, if a Moen faucet is leaking, it’s probably due to an issue with the cartridge. This is because all Moen faucets are cartridge faucets. In fact, the company’s founder, Al Moen, purportedly invented the faucet cartridge. So, even though cartridges vary according to a vast selection of models, the repair process is more or less straightforward.
While it’s never fun to have a leaky faucet, single-handle Moen kitchen faucet repairs are a job that any willing DIY-er can undertake. All you need are a few essential tools and part replacements, and you’ll be well on your way back to a fully functional faucet.
Step-by-Step: How to Repair Your Leaking Moen Faucet
Things You’ll Need:
- Phillips-head screwdriver
- Flathead screwdriver
- Tongue and groove pliers
- 1/8-inch Allen wrench
- Plumber’s grease
- O-ring replacement
- Moen cartridge replacement
If Your Moen Faucet Is Leaking From the Spout…
If your Moen faucet is dripping from its spout, it’s highly likely that the cartridge isn’t sealing the water properly. It could be that the cartridge is damaged, or simply worn out. To find and replace the cartridge, you’ll want to begin by disassembling the faucet.
How to Disassemble a Moen Faucet
Step 1: Before removing any faucet components, start by turning off your water source. Typically, water shutoff valves can be found in the cabinet under your sink and are connected to copper or flexible tubes. Once you find them, turn the handles clockwise to shut the water off. Then, open the faucet to relieve any excess water pressure trapped in the line.
Step 2: Once you’ve turned off the water, find the screw cap (which usually bears the Moen logo) on the faucet handle and, using a flathead screwdriver, pry it off.
Step 3: When the screw cap has been removed, the set screw holding the handle in place should be visible. Loosen the screw with a 1/8-inch Allen wrench and pull the handle off. While it should come off fairly easily, you may have to tap slightly on the handle in order to remove the handle.
Step 4: Once you’ve removed the handle, use a pair of tongue-and-groove pliers to remove the retaining nut or pin that holds the cartridge in place — just be careful not to lose it down the drain. (In fact, you might even want to put an old towel in the sink at this stage to prevent losing any parts).
Step 5: Next, pull the cartridge out by pulling the valve stem with your pliers. If the faucet is older, you may need to jiggle it back and forth a bit until it’s free. In some scenarios, you may need to use a cartridge puller to remove it.
Diagnosing the Problem
After you’ve disassembled the faucet and removed the cartridge, closely examine the cartridge for any damages. If you see any cracks or nicks on the cartridge, you’ll need to replace the cartridge with another Moen cartridge. For your convenience, there should be a model number under the screw cap. This will help you determine the correct cartridge replacement.
If the cartridge is just coated with limescale — that white, chalky substance — then you can soak it overnight in a bowl of vinegar to dissolve it. Once it’s clear of scale, you can reuse it.
If you can reuse your cartridge, make sure you replace its O-rings before putting it back in place. While you’re at it, replace the gaskets on the valve seat as well. Pry out the gaskets by sticking a screwdriver into the valve housing. When purchasing new O-rings and gaskets, make sure that you get the correct ones for your specific Moen model, then apply plumber's grease to the valve seat and body before replacing.
Check the Valve Seats
If your cartridge isn’t damaged or isn’t suffering from any scale buildup, damage to your valve seats could be causing the faucet to leak. To examine them closely, they’ll need to be removed. Valve seats are located directly under the valve on the faucet handle. To remove them, use a wrench and turn it counterclockwise. If it seems stuck, spray some WD-40 on the seat and wait a few minutes, then try to remove it. Once the seat has been removed, take a close look for any damage. If you see any — and keep in mind that the smallest crack can cause a leak — you’ll want to replace the seat altogether.
More Related Articles:
- Calling a Plumber? Here Are the 6 Most Common Plumbing Jobs and How Much They Cost
- 6 Ways to Try to Unclog Your Sink Before You Call a Plumber
- What's in My Plumber's Van?
- Here's How Much It Costs to Remodel a Bathroom
- 6 Tips for Hiring a Plumber
If Your Moen Faucet Is Leaking From the Base…
If your faucet is leaking from the base, there’s a good chance you have a damaged O-ring around the base of the handle. Turn off your water source and disassemble the faucet as outlined above. Then, remove and replace all O-rings on the outside of the valve body, making sure to apply a small amount of plumber’s grease to the valve before installing. From there, make sure that the valve body is clean before replacing the handle and reassembling the faucet.
Once your parts are cleaned and replaced, reassemble your faucet, and turn the water back on by turning the shutoff valves counterclockwise until they’re open all the way. Then, run the faucet and test to see if you’re officially leak-free.


Cartridges for Life
Moen faucets are often regarded as one of the most high-quality brands on the market. In general, a Moen faucet cartridge can last for 30 to 40 years. Still, damages and defects do occur from time to time. As a testament to its status as a high-quality brand, Moen will offer a replacement cartridge free of charge if your cartridge is defective or damaged. Of course, this depends on the specific type of damage, but it’s nevertheless a great perk to owning a Moen product.
And while leaky Moen faucet repair projects are generally pretty simple, never hesitate to call a licensed plumber if you feel in over your head.
Elocal Editorial Content is for educational and entertainment purposes only. Editorial Content should not be used as a substitute for advice from a licensed professional in your state reviewing your issue. Systems, equipment, issues and circumstances vary. Follow the manufacturer's safety precautions. The opinions, beliefs and viewpoints expressed by the eLocal Editorial Team and other third-party content providers do not necessarily reflect the opinions, beliefs and viewpoints of eLocal or its affiliate companies. Use of the Blog is subject to the
Website Terms and Conditions.The eLocal Editorial Team operates independently of eLocal USA's marketing and sales decisions.